It has been a gruelling journey for the last few months of my 3D printing journey.
From 1) fixing a broken Heater cartridge (this part is inserted into the heater block of a 3D printer, which in turn, heats up the nozzle) to arranging the 2) Heater cartridge wire and the Thermistor wire (this item is also inserted into the Heater block, it measures the temperature of the Nozzle and also the Heated print bed [assuming your printer’s print bed is heatable]), ensuring the Carriage (consisting of the extruder assembly, including NEMA 17 stepper motor) moves smoothly in the Y-axis direction, without any wires entanglement and finally, 3) unclogged my CraftBot 3D printer’s clogged extruder.
First off:
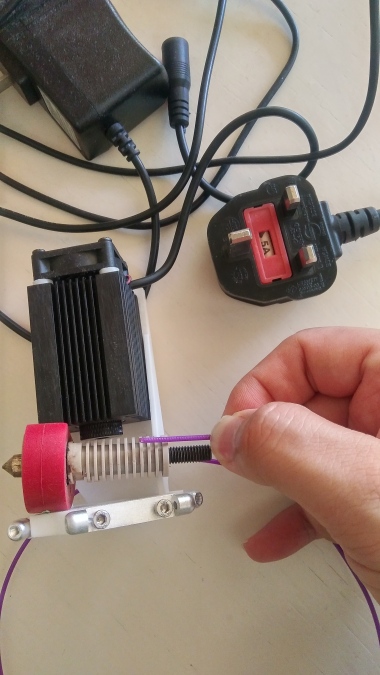
CraftBot Hot end.
*Holding the purple PLA filament in position, indicates the maximum distance that the filament could be inserted through the Thermal barrier, before gear clicking occurs. This signals the start of the clogged filament.
Detailed description of the components making up the Hot end, please continue to read this pictorial blog.
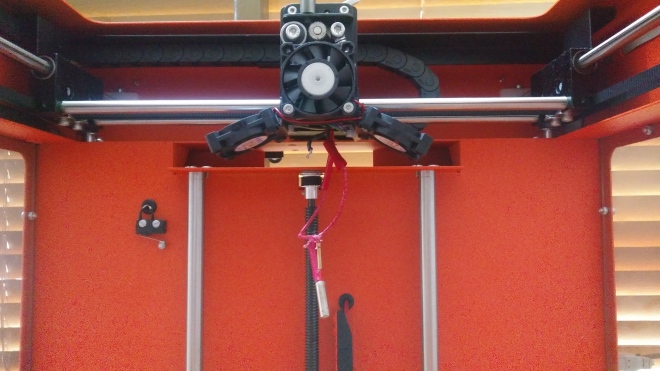
There are 2 different wires dangling at the centre; 1 in front (red dangling wires), 1 at the back (short black wire).
Front: Heater cartridge that goes to the Heater block. This heats up the nozzle to the set temperature, required to print the material filaments, e.g. most common material, PLA (usually between 195 to 220 Deg. C.) while ABS requires upwards of 230 Deg. C.
BEFORE removing the heater cartridge from the Heater block, REMEMBER to loosen the small allen screw from the side of the heater block (see next picture). Else, if you attempt to pull out the Heater cartridge from the Heater block, you risk pulling out the wires from the Heater cartridge and damaging it.
Back: Not so visible in this picture. This black wire, near the opening at the back is connected to the Thermistor and inserted into the Heater block. It reads the temperature that is set for the nozzle and heated bed (if any, as not all 3D printers’ bed have heating feature).

Read this together with the previous picture. Before removing the Heater cartridge, loosen the allen screw. If you try to pluck out the Heater cartridge from the Heater block, without loosening the allen screw, you will pull off the wires from the Heater cartridge and damage it. NOTICE: the small metal item (allen screw) on the LEFT side of the pink silicone cap. It appears flushed with the pink silicone cap.

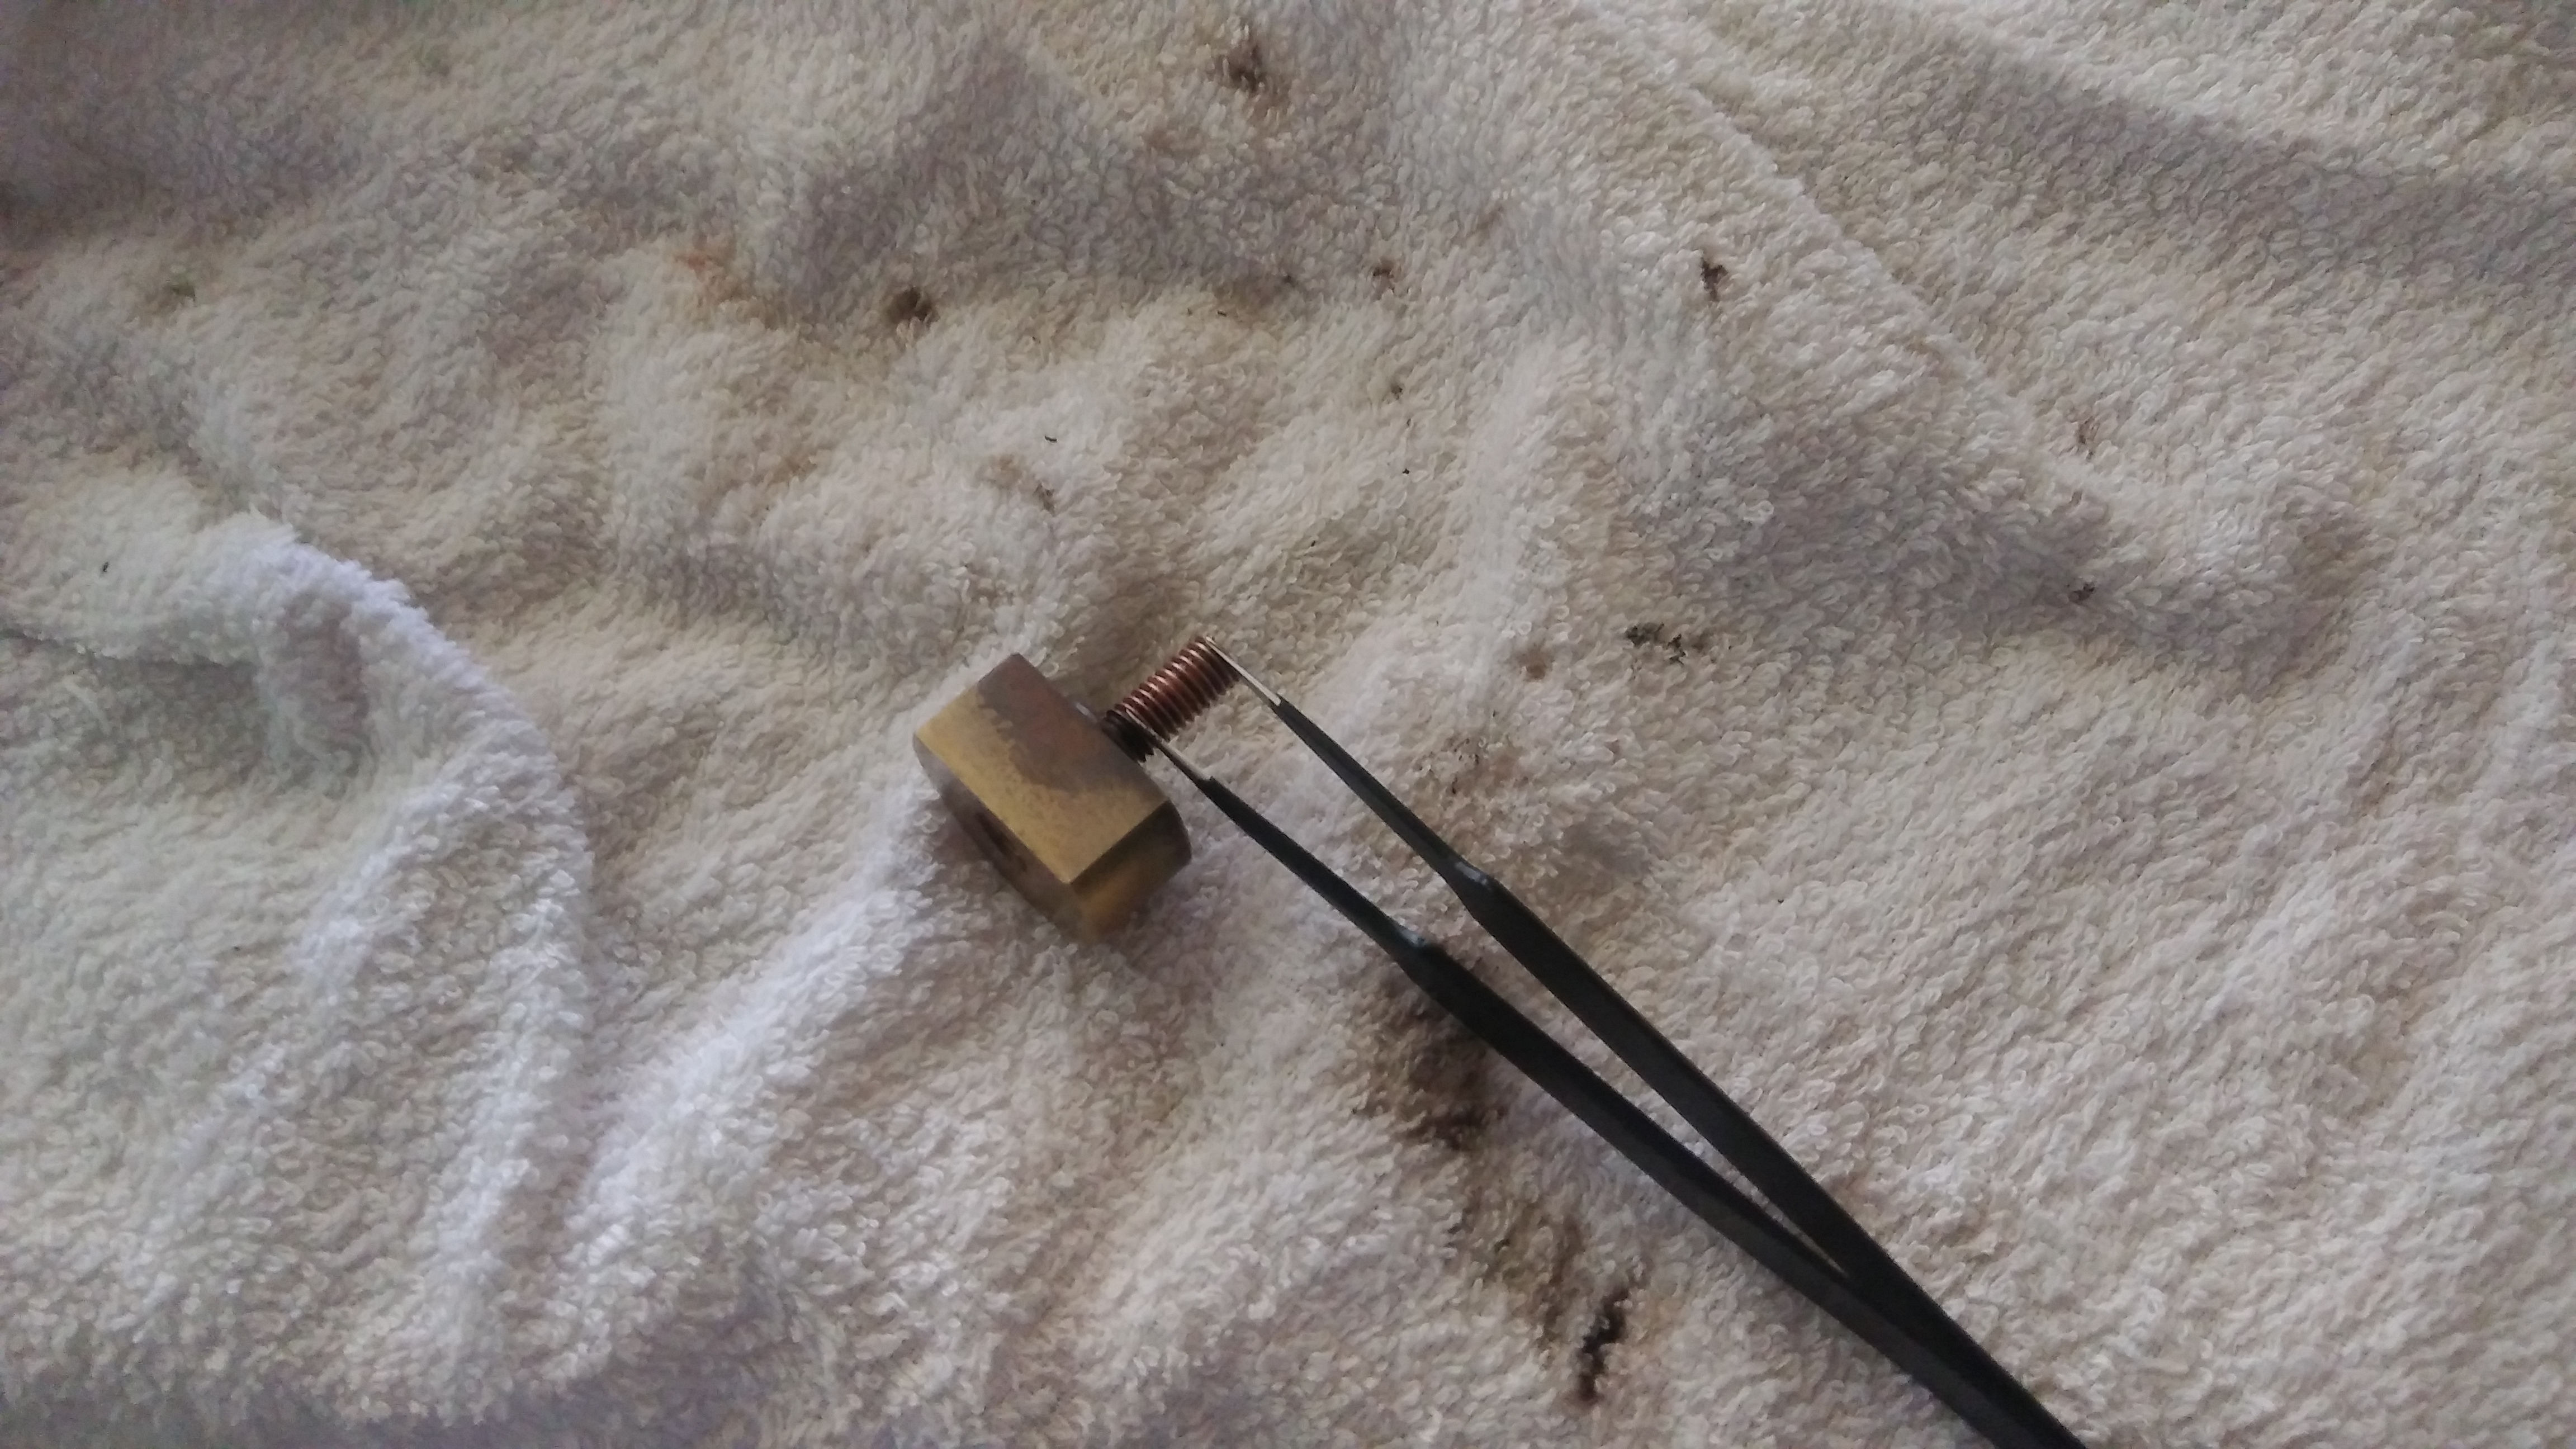
Loosening the PEEK barrel (where my thumb touches it) with Thermal barrier (the black rod sticking out), from the Heater block. See the tools required, 4 pictures down.

L: PEEK barrel with Thermal barrier
R: Heater block

Looking through the PEEK barrel end.

Looking through the other end.
Both ends of the PEEK barrel and Thermal barrier are clogged big time. If there were no clog, both ends can been seen through.

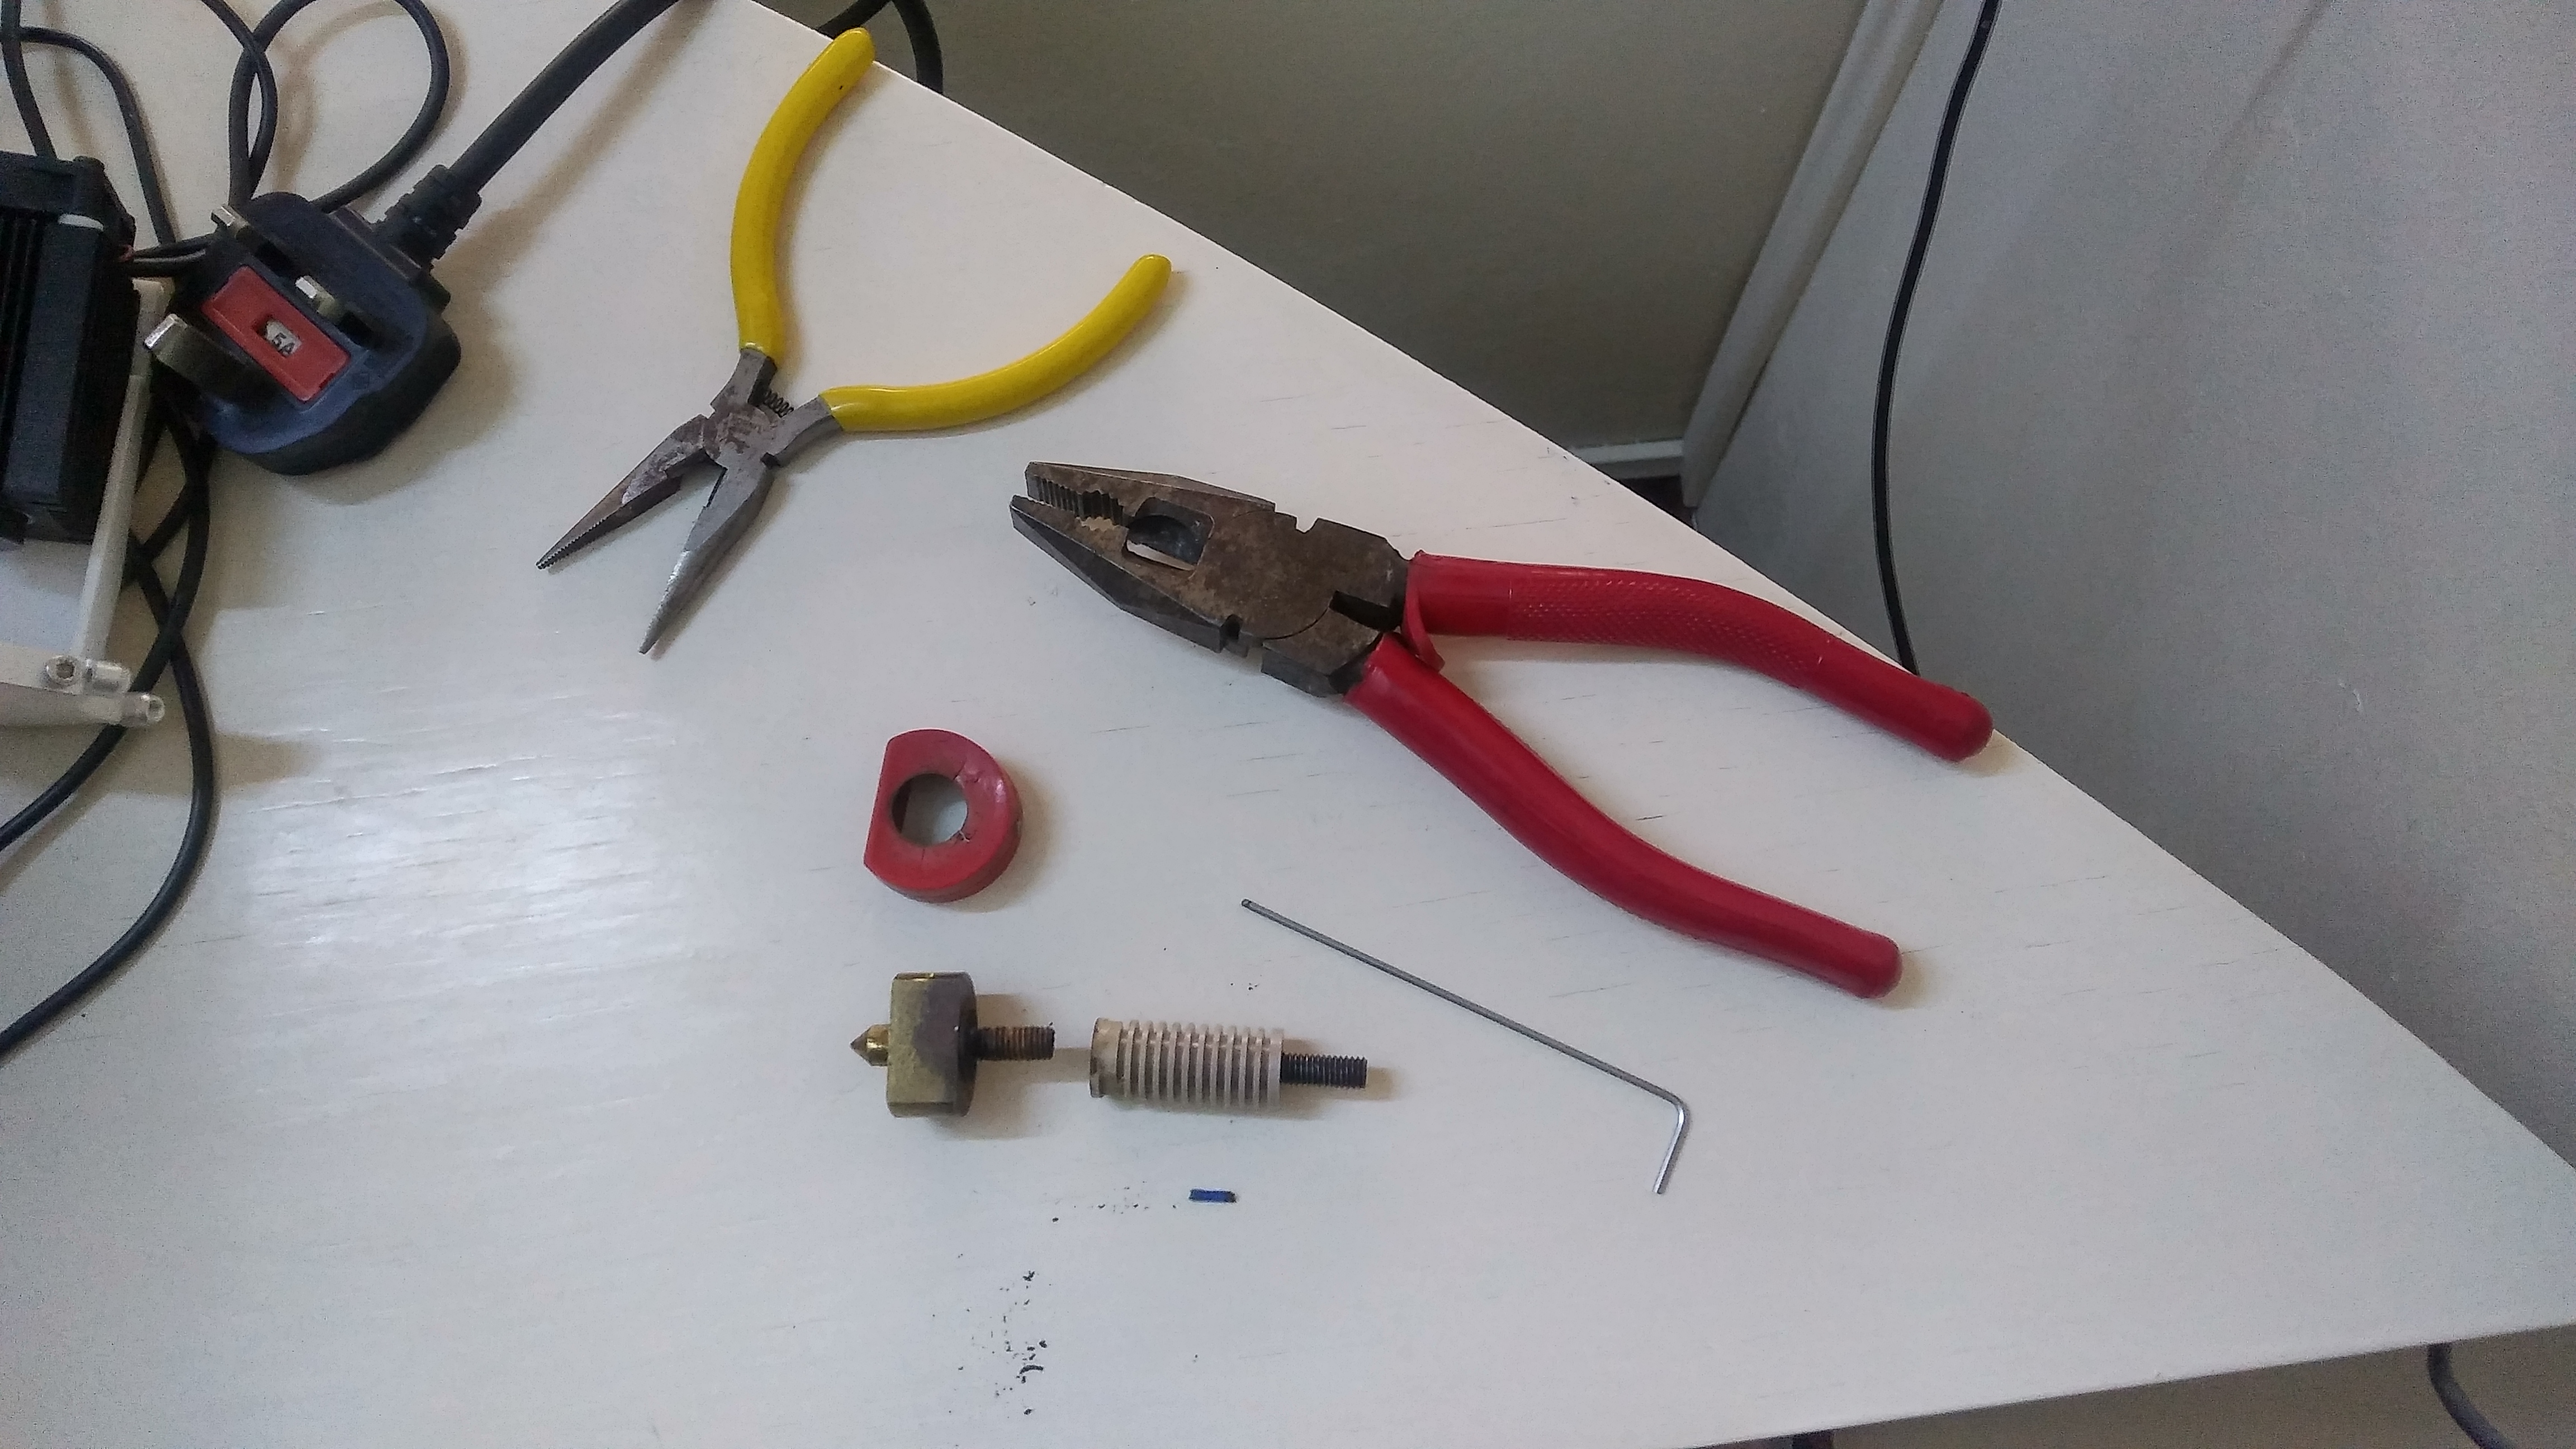
The faithful tools.
Not in pciture: 1) Mr “Pincer” says “Hey, I helped out too”. So yes, pincer should be in the picture too. 2) “Singer brand lubricant” shouts out “I was used to lubricate the insides of the Thermal barrier, just like a Soldier oils his weapon. 3) “cif Kitchen Cleaner” acted as the cleaning “agent”.

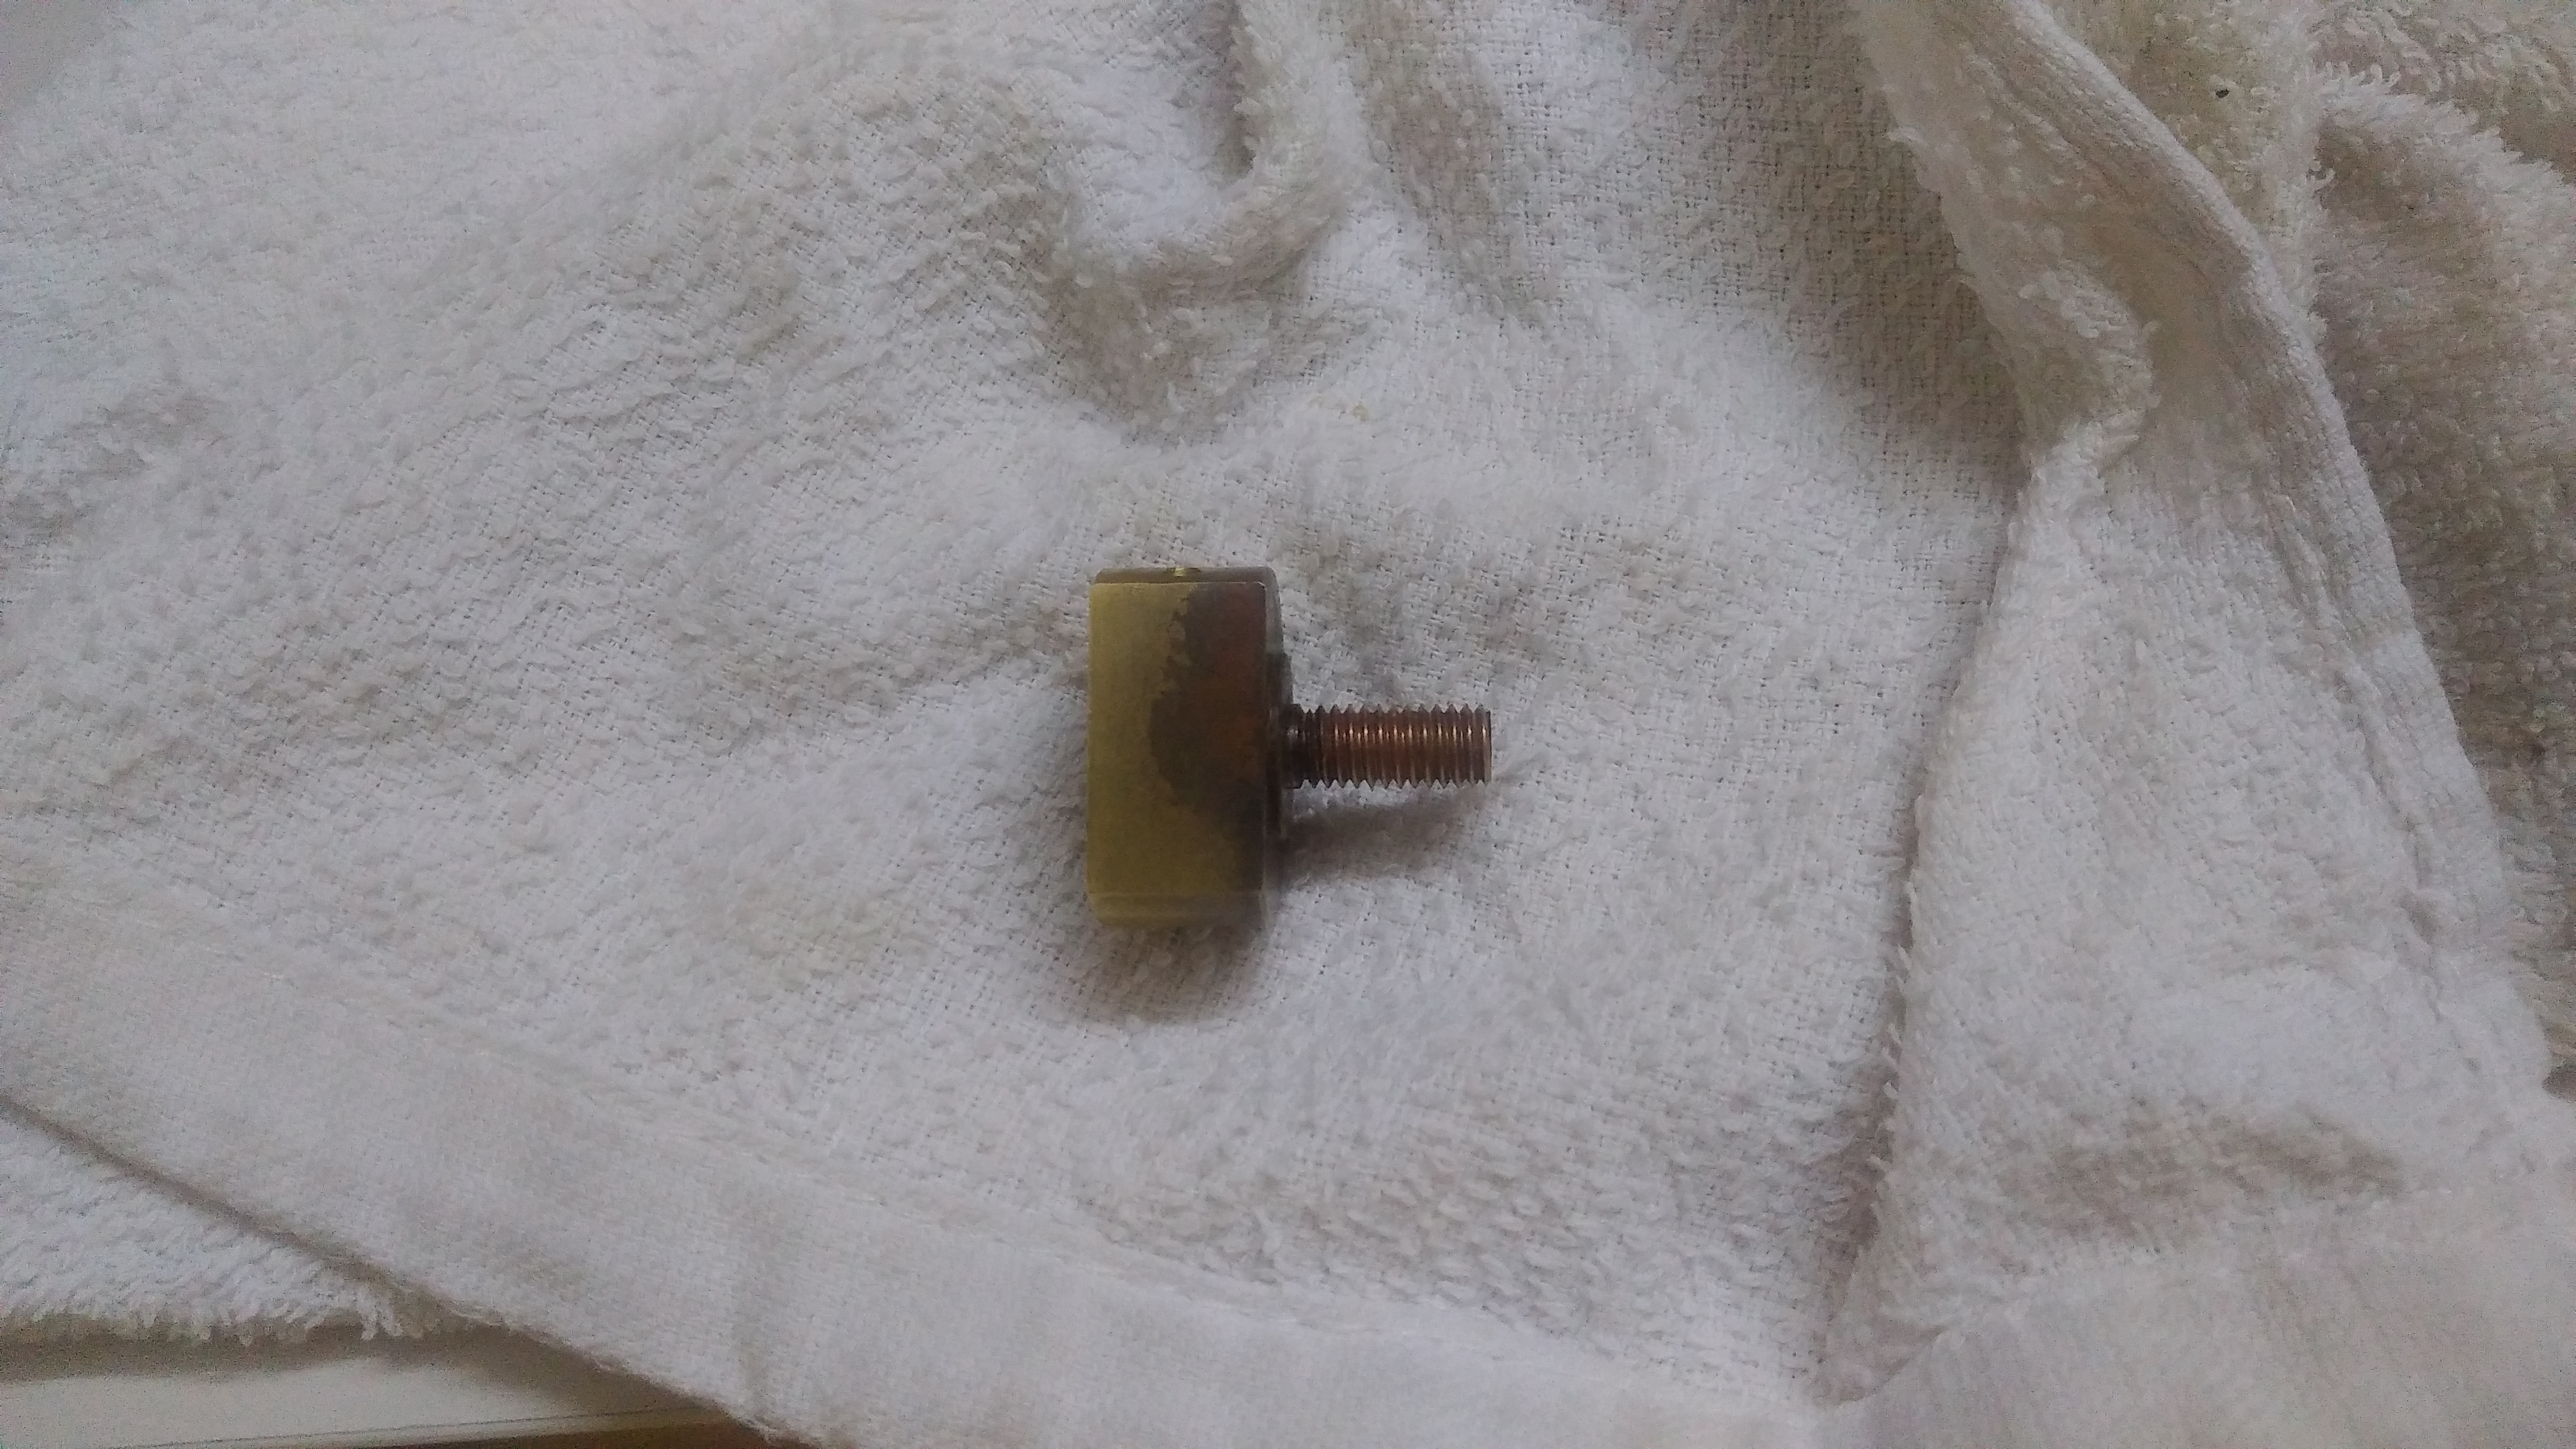
Top: Silicone cap that encapsulates the Heater block.
Bottom: PEEK barrel with Thermal barrier and Heater block.
All the above 3 items are part of a 3D printer’s extruder. The complete extruder assembly includes the cold end, hot end, stepper motors, gears, bearings, etc.
*The specks of dirt on the lower section of the photo are the burnt filament.
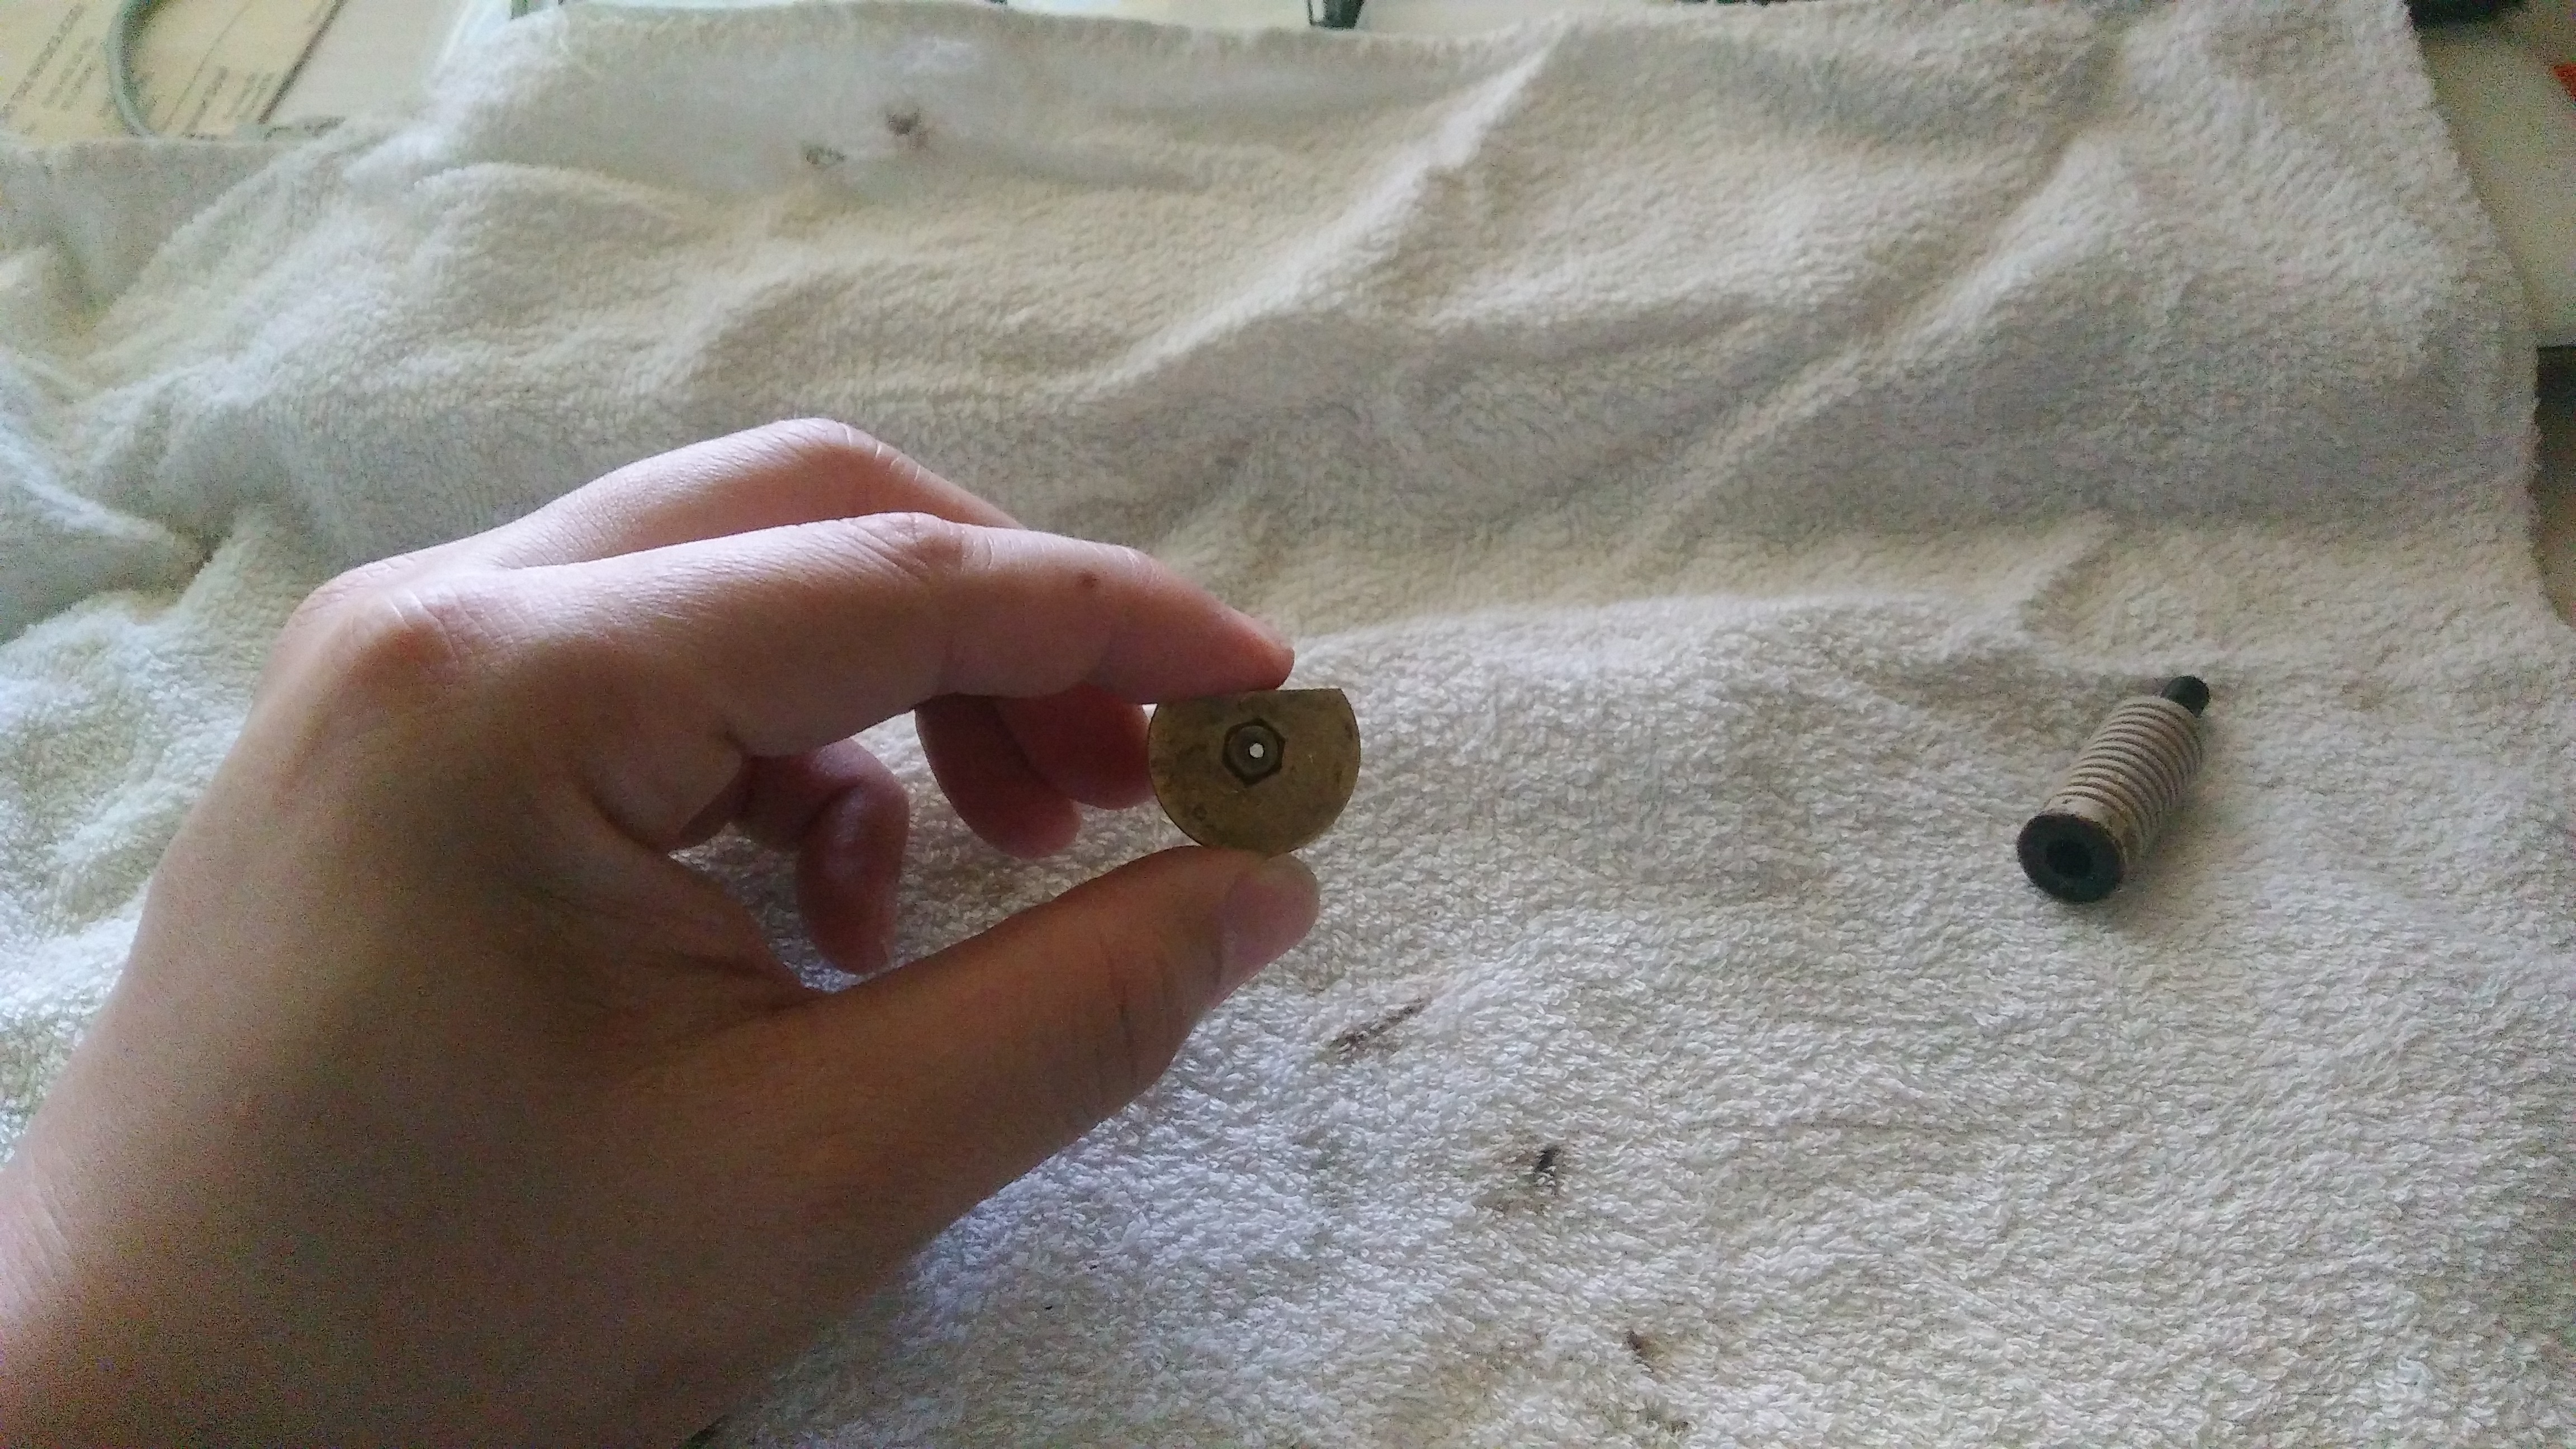
Initially, I wanted to heat the Thermal barrier over the stove’s naked flame, to remove the filament that was stucked inside. But eventually I just grabbed a right size allen screw that I could just barrel through and with some force, some “thing” inside fell out.


See that bluish “thing”that fell out? It is the stucked filament that accounted for the clogged extruder.


Looking through both ends of the Heater block, there is no clog.
Conclusion: clogged extruder occurred Only at the “cold end” of the extruder.

There are lots of dirt (due to are on the metal threaded rod on the Heater block and also inside the PEEK barrel which the metal threaded rod on the Heater block screws on to. This is due to the Leaky PEEK syndrome.
I spent almost 1 hour clearing the dirt away, using the cif Kitchen Cleaner and pincer to scrap away the dirt on the thread. Due to lack of appropriate cleaning liquid for the task at hand, I could only use the available ones.


After an hour of “scrubbing”, the metal threaded rod on the Heater block and the inside of the PEEK barrel (no pictures available) are much cleaner now.

See the circular stuff inside the PEEK barrel/Thermal barrier?
That is the PTFE (Teflon) tube and here are 2 links in CraftBot forum, containing insightful information sharing, on:
Glasslike substance on hotend
Disassembling a Complete Clogged Extruder
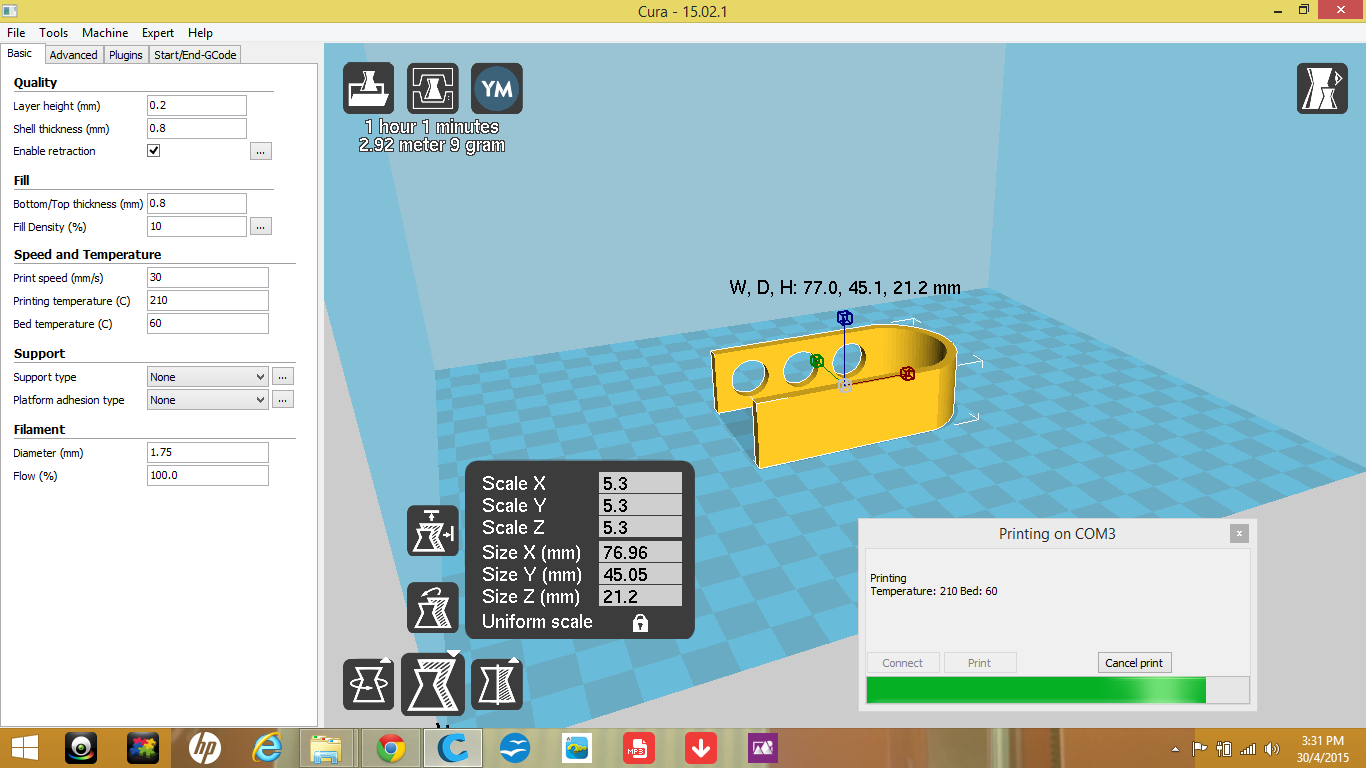
*CraftBot 3D printer: – Behind the scene: Unclogging clogged extruder & more
*Victory video. CraftBot prints again!


You must be logged in to post a comment.